DIY RELAY MODULE IN BREADBOARD | BASIC DESIGN
May 24, 2020

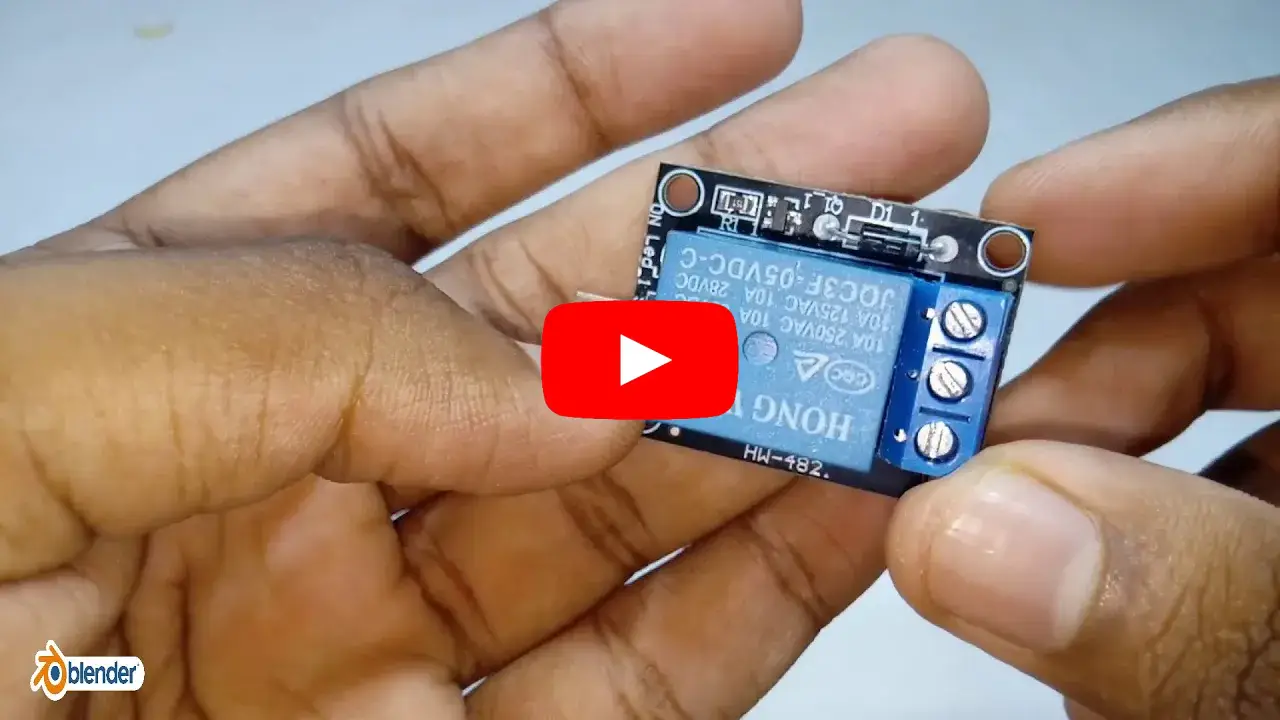
In this video, I'll show you how to build a relay module on a breadboard, a simple yet powerful circuit that allows you to control high-power devices with low-voltage signals.
Components Required
- 1 x 12V Relay (or any voltage rating as per your requirement)
- 1 x BC547 NPN Transistor
- 1 x 10KΩ Resistor
- 1 x 1N4007 Diode
- 1 x Breadboard & Connecting Wires
Working
- The BC547 transistor acts as a switch, controlling the relay with a low-voltage signal.
- The 10KΩ resistor limits the base current to the transistor.
- The 1N4007 diode prevents damage by safely discharging high-voltage spikes generated when turning the relay on and off.
- The relay allows you to control high-voltage appliances using a low-power microcontroller signal.
Transistor Pinout


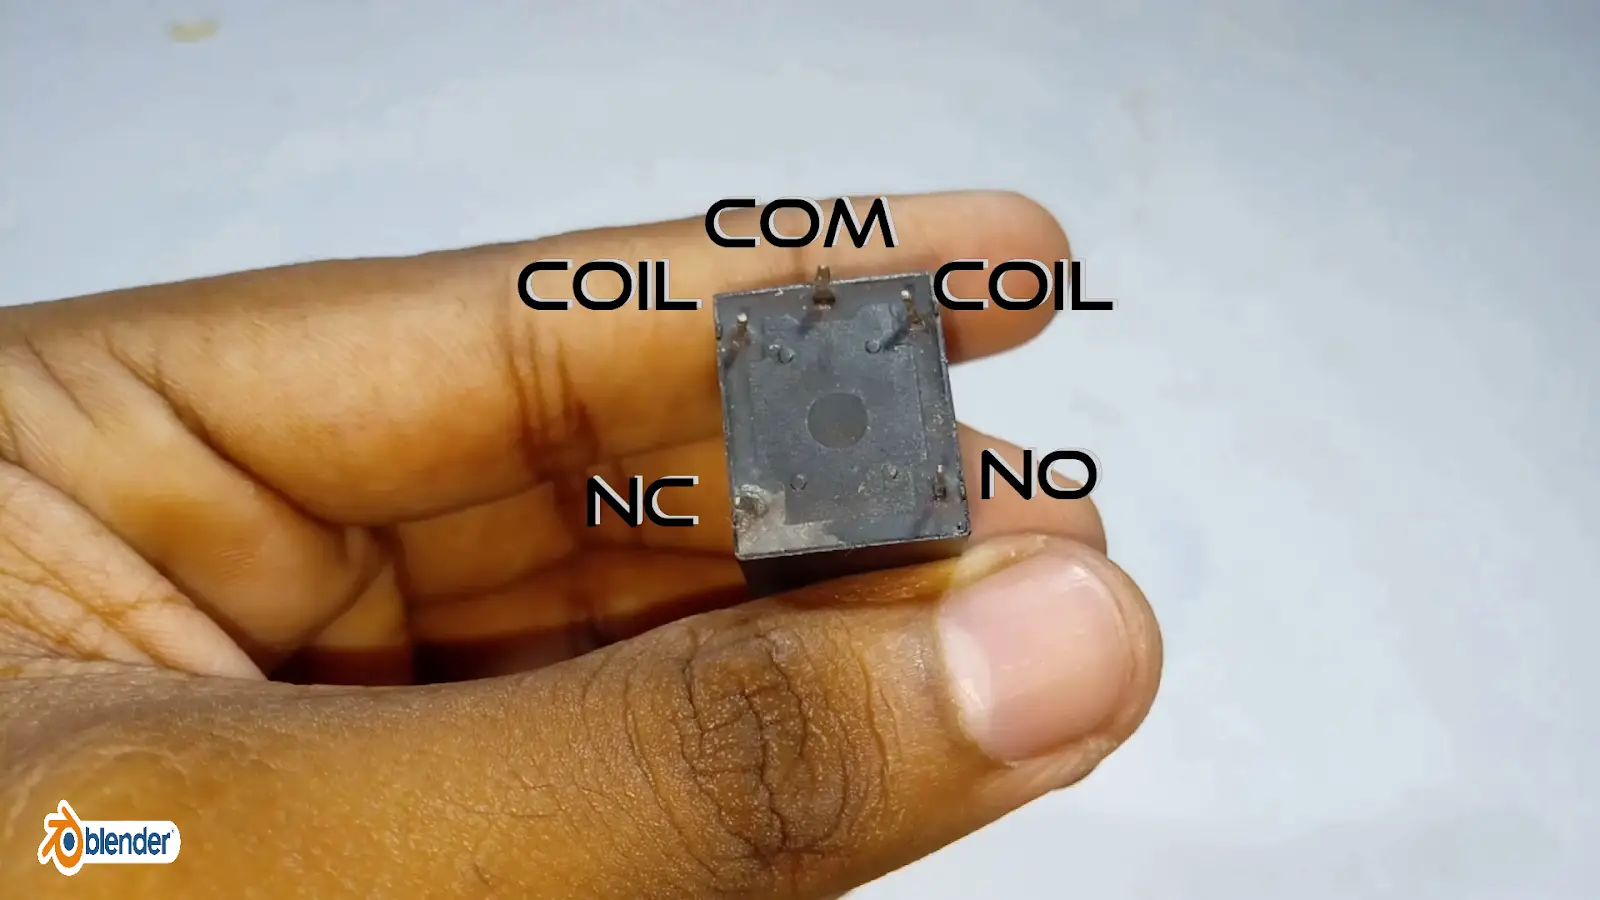
Relay Pinout

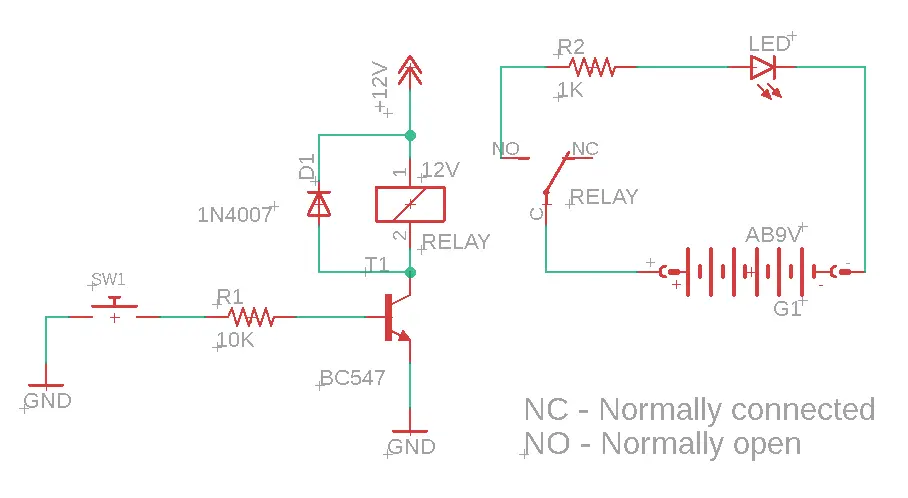
Manual usage of relay using a push button.
Circuit Diagram

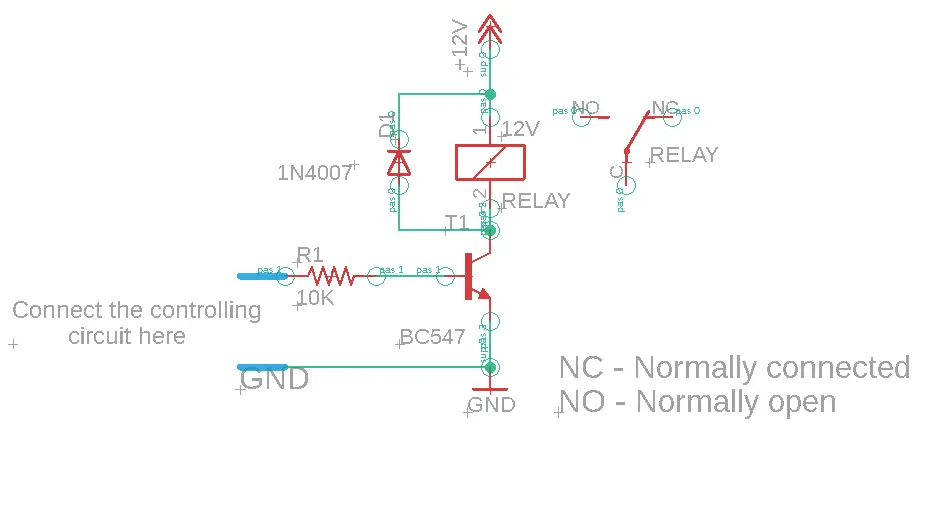
Below circuit diagram shows how to connect a relay module to an automatic controller for switching high-power devices safely and efficiently.
Circuit Diagram

If you like this video hit the SUBSCRIBE button and give a LIKE.